There are two ways to identify peaks in ChromBox: auto identification and manual identification. Previously identified peaks can be copied, pasted, imported, and/or exported into a project or sample.
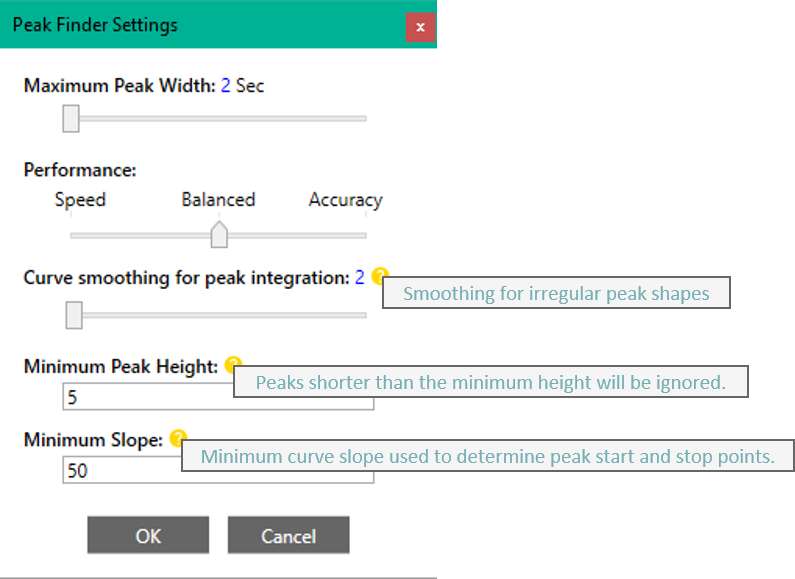
Auto Identification – click Peak in the Tool Bar or Identify Peaks when you right click a sample in the Active Items viewer to identify all peaks given a set of parameters determined in the Peak Finder Settings.
Note: If the Peak button is grayed out, click on the sample tab or double-click within the chromatogram window to make it the active panel.
Parameters
- Maximum Peak Width: The maximum peak width identified for integration by the search engine. A large value will significantly increase the time for the peak identification. It is suggested to try the minimum value first.
- Performance: Select the priority of the search engine.
- Curve smoothing for peak integration: Use higher values when peak signals are noisy.
- Minimum Peak Height: A threshold to ignore false peaks with very small height values (e.g. baseline noise)
- Minimum Slope: A threshold applied to the start and end points of each peak. Larger values cut tailing peaks.
Note: Click on any identified peak on the chromatogram to change the color, name, or integration boundaries of the peak.
Manual Identification – manually identify which peaks to integrate by SHIFT + click each peak on a chromatogram.
Copy and Paste Peaks – peaks can be copied and pasted from one sample or project to another as long as the chromatograms are the same file type (GCFID, GCMS, etc.) Only peaks with alpha characters (A-Z) will be copied or pasted.
- If the n-alkanes (e.g. C-10, nC10, c10, nc-10, etc.) have been identified in each sample, the peaks will be pasted based on a calculated retention index.
- If there are no n-alkanes identified or present in the sample, the peaks will be pasted based on retention time.
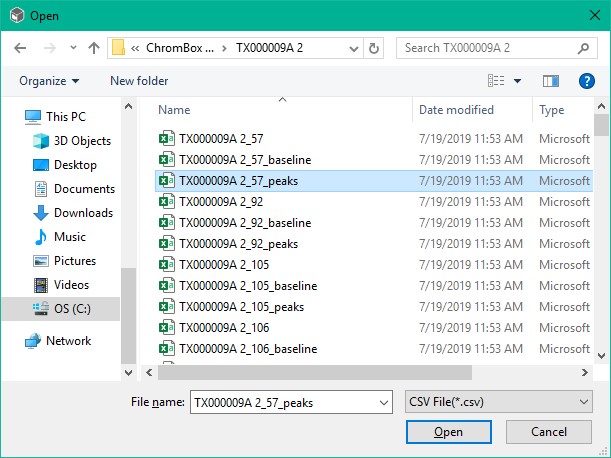
Import Peaks – identified peaks can be exported as a .csv file (see Part 4) and imported into a different project. Right-click the sample in the Active Items viewer to select the peak file to import.

